
Congratulations, you’ve hired a new employee! Here are a few things you’ll want to do to get them set up and make sure they’re successful in Open Dental.

If you want to keep track of progress in setting your new employee up for success, download our printable checklists. The checklist can also be filled out as a PDF (with clickable links to the manual!) for those of you who are paperless.
Add to Employee List
If you’re using the Time Clock in Open Dental, the very first step is to add your new employee to Lists, Employees so they can start clocking in. Even if you’re not using the Time Clock, the feature can be used to track employee information, like who they report to and their contact information for ease of access. Click Add from the Employees List to create the new employee entry. Only a name is required.

Add to Provider List
If your new employee is also a provider (i.e., dentist or hygienist) they will also need to be added to Lists, Providers. This makes sure the new provider can be assigned to operatories, patients, procedures, and more. Click Add from the Provider List and add the new provider’s details. Don’t worry if you don’t have all their details right now. You can always come back to enter those later.

Set Up User and Password
Now that you’ve created the employee and provider entries, you’ll want to create a login for your new employee. Go to Setup, Security Add User.

When adding a new user, make sure to select the employee and provider you’ve created for them. This will ensure that when they log in, they can clock in for themselves. Assigning a provider is especially important if using WebMail or eRx features.
From here, you’ll also want to assign the new employee user permissions by assigning them to User Groups. Employees can be assigned to one or multiple User Groups depending on what permissions they need. Assigning a user to multiple User Groups gives the user all permissions in the assigned groups, so you don’t have to make tons of unique groups.
For example, if you have front office staff with basic permissions and an office manager who needs the same permissions as that staff and additional administrative permissions, you can make a user group for the Office Manager that allows them just those additional permissions (e.g., Fee Schedule Edit, Edit All Time Cards, etc). The additional user group only needs those extra permissions as the Office Manager will get the basic permissions from the front office user group. This saves you the extra work of having to go through and check or uncheck all of the basic permission boxes for each user group.
Additional Steps for Providers
There’s a bit more setup for providers than for everyday employees. Follow these remaining steps to get your provider squared away.
Set Up Operatories
Chances are, you’ve already created all the operatories that your practice uses. Likely your new provider is taking over an operatory for an outgoing provider, so you’ll want to update the existing operatory and update any existing appointments. Go to Setup, Appointments, Operatories, and double-click an existing operatory to edit.
If you are actually expanding and need to create an additional operatory, click Add instead.

Assign your new provider to the operatory. If they’re a hygienist, make sure to assign them in the Hygienist section and not the Provider section; then mark the operatory as Is Hygiene. This ensures your hygienists are only assigned to hygiene procedures (and not exams!)
Once that’s done, you’ll likely want to reassign any existing appointments in that operatory to the newly assigned provider. Click Update All to easily update the provider on future appointments. Past appointments will not be affected.
Set Up Appointment Views
With your new provider, you may need to edit or add to your existing Appointment Views. Go to Setup, Appointments, Appointments Views, double-click an existing appointment view to edit.
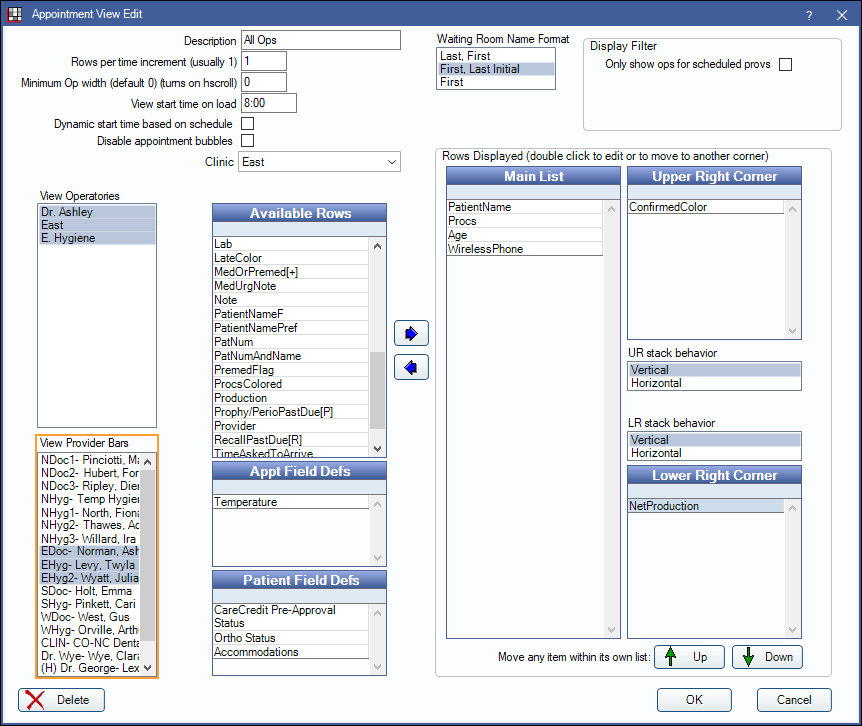
If you have the Appointment Module production use operatories preference disabled, you’ll want to make sure that you add your new provider’s provider bar to any appointment view where you want their production accounted for.
Schedule Setup
After you’ve set up your new provider and their operatory, you can now add them to the schedule. This will ensure that the Appointments Module shows the provider’s operatory as open, and that things like Sched Recall buttons and Web Sched work correctly. This step can also be done for employees, but is entirely optional and is informational only for employees.
Go to Setup, Schedules and follow the steps below to add the new provider to your schedule:
- Double-click a day.
- Select a provider (or employee) from the list on the right.
- Enter the provider’s scheduled start and stop times. If the provider has a scheduled break (e.g., lunch block) and you don’t want them to show as available on the schedule, you can enter the Stop Time as when their break starts.
- Click OK.
- If you entered the provider’s schedule Stop Time as a break time, repeat steps 3-4, with the next scheduled Start Time when they’re scheduled to return from their break. Once this is done or if not needed, click OK on the Edit Day window.
- Set up the provider’s schedule on any other days as needed and use the Paste and Repeat tools to copy days or weeks you have set up. Be mindful when using this tool as it will overwrite the schedule currently in place on any days you are pasting over. See our manual for more details.

Additional & Optional Setup
The next few things on the list are only necessary if your office is utilizing a feature or are entirely optional.
Task List and Inbox Setup
If your office uses Task Lists, you’ll want to set up a task list for the new employee or provider by going to your bar (usually docked at the bottom or right side of Open Dental), going to the Main tab, and clicking Add Task List.
Once you’ve added the new task list, you can assign it as an inbox to your new employee by going to Setup, Tasks: and clicking Inbox Setup
- Click Inbox Setup
- Select the newly created task list on the right.
- Select the new employee’s username on the left.
- Click Set.
- Click OK.

![]() Need more help? Check out our Tasks and Task Lists YouTube Playlist.
Need more help? Check out our Tasks and Task Lists YouTube Playlist.
Set Provider-Specific Fees
If you have a new provider and the provider uses different fees than the standard office fees, you can set provider-specific fees by turning off global fees. This is common for specialists or providers who are not participating with an insurance carrier. See our manual for instructions on setting Fee Overrides.
Schedule Additional Training
This step is of course optional but highly recommended. You can schedule one-on-one training for your new staff member to go over the basics of Open Dental with an experienced online trainer, or you can schedule training for a specific topic. Visit our website for information on fees for training. Staff can also visit our YouTube channel to view our library of pre-recorded webinars. There are recommended playlists by responsibility there too, including Lessons for the Office Manager or Billing Specialist, or Lessons for Front Desk or Reception.
Our support team is here to help you maximize the tools in Open Dental and work smarter, not harder. Just reach out anytime you need help, we’re here for you!